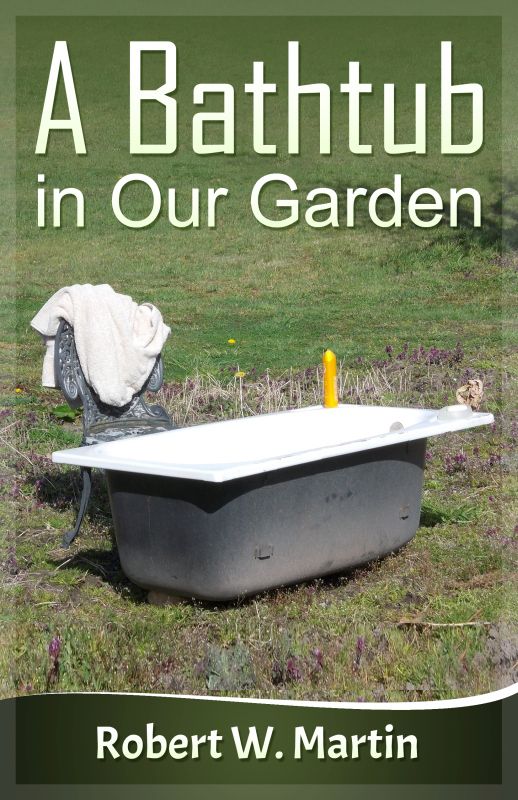
We had a bathtub. It was a chipped enamel one, which we recovered from the other farmyard. It had been used as a cattle drinking trough, back in the days when the late MIL had cows. We just didn't have anywhere to permanently install it.
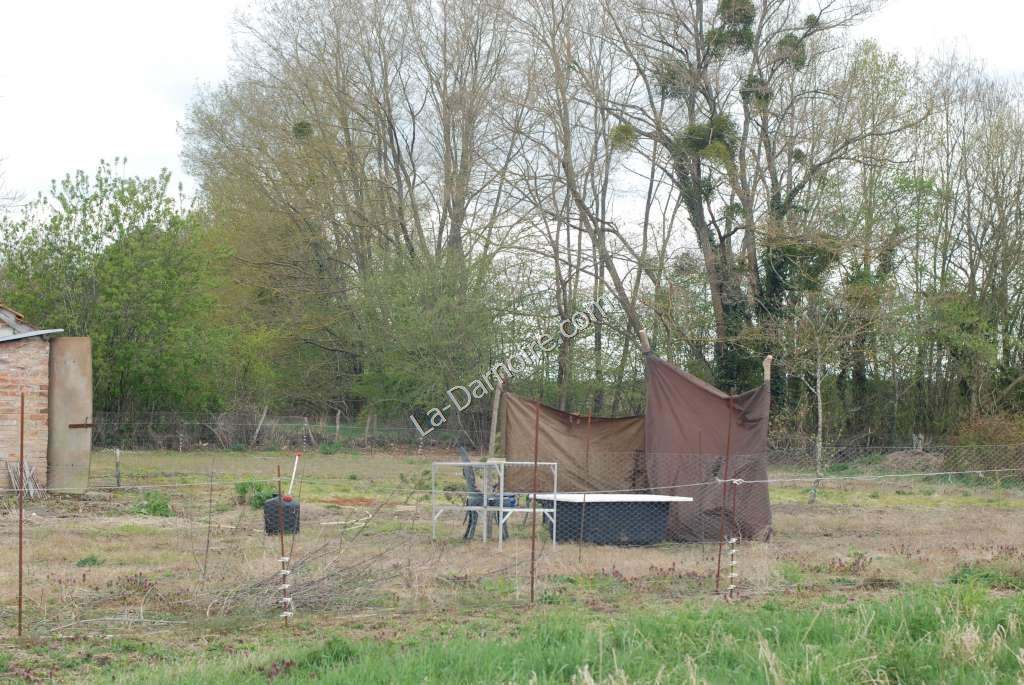
But as summer was approaching, I simply rigged up a screen next to the vegetable garden, using some ex-army ponchos supported by posts. Filling the bathtub involved carrying buckets of water from the kitchen. I also filled a black plastic 20-litre container with water, and after it had been left in the sun all day, the water was quite warm!
This setup worked quite well unless it was a bit breezy, which made getting out of the bath a slightly chilly experience. The other disadvantage was that the person not having a bath had to report for horsefly sentry duty. There's nothing worse than being bitten by a horsefly when one is at the disadvantage of being naked.
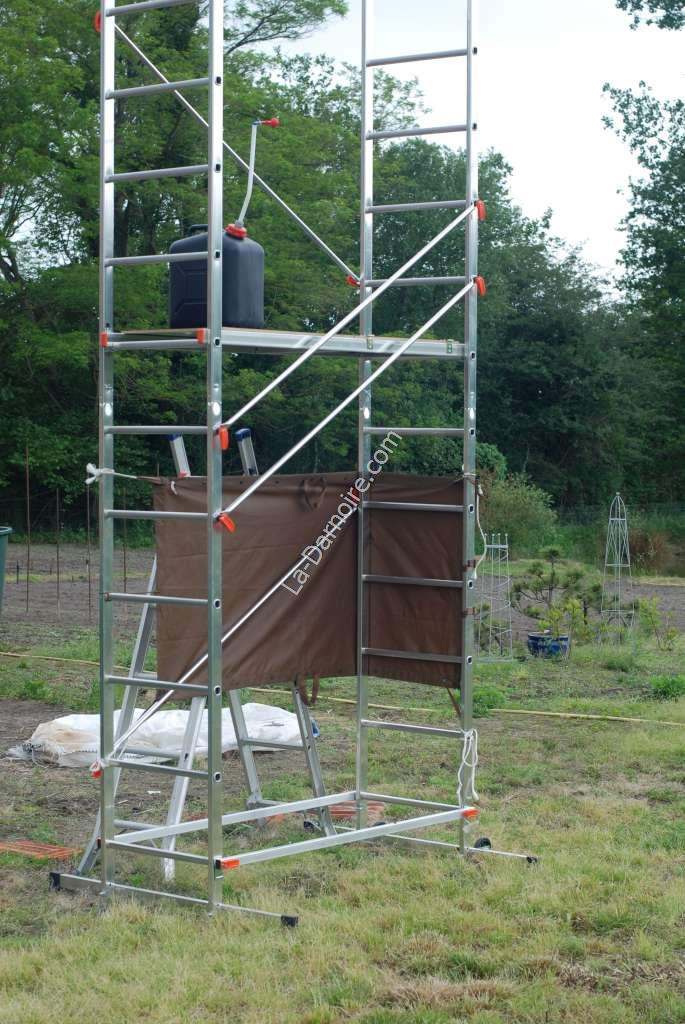
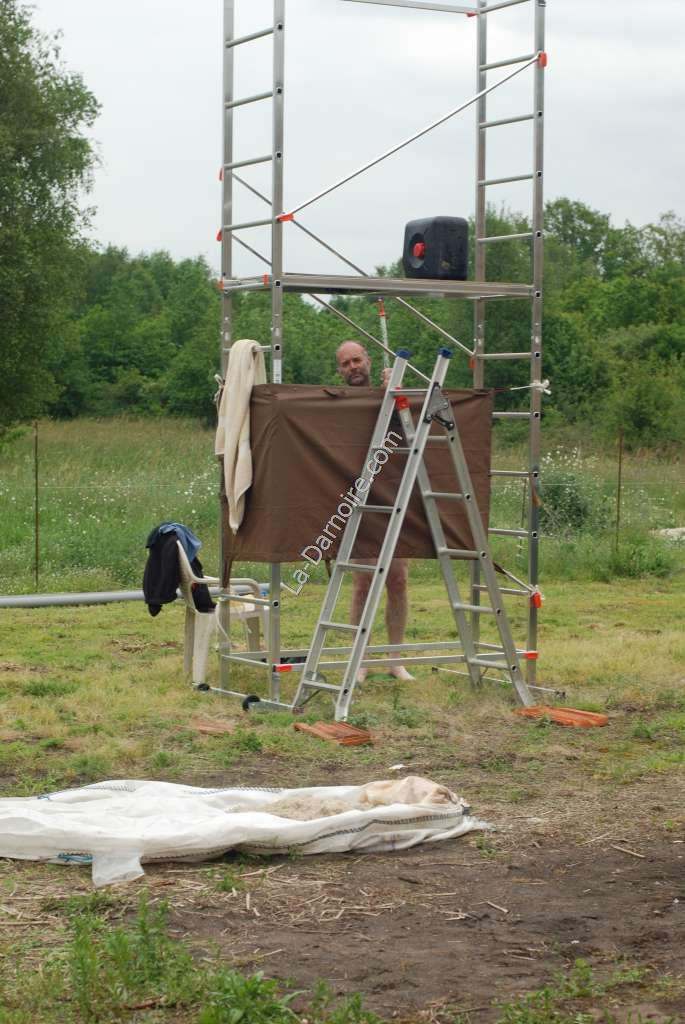
After bathing, the bath was emptied very easily. By turning it onto its side. Now whilst I prefer baths, LSS prefers showers. I devised a method of turning the 20-litre black plastic container into a camp shower, and as we already had a 5-metre aluminium scaffold, it did not stretch the imagination too much to put these two items together:
The black plastic container was lifted onto the platform by climbing the stepladder. It's heavy though. Turning it onto its side releases the water. Here I am trying it out (LSS ambushed me with the camera):
The scaffolding was quite useful as a towel rail as well. But the same disadvantages applied; if it was windy, it was rather chilly. And the horsefly sentry duty was still necessary. It was also a bit of a bother lifting the refilled black plastic container onto the platform every day.
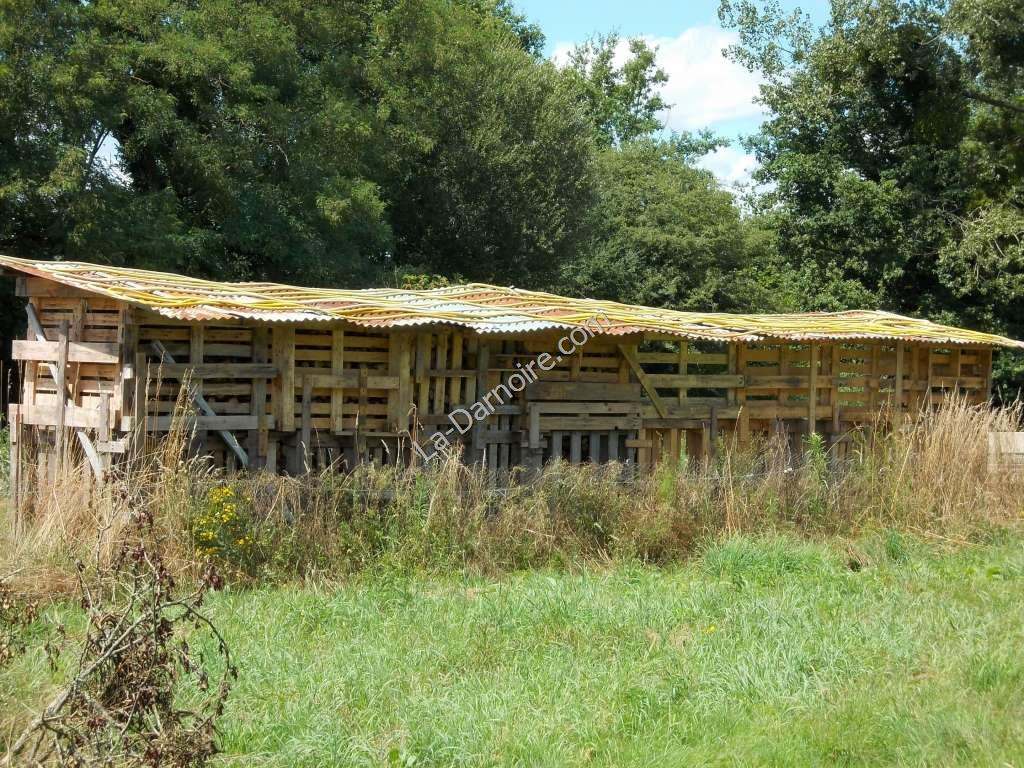
The following summer saw the implementation of the Outdoor Bathroom Mark II. By this time, the second pallet wood shed had been completed. I placed a coiled hosepipe with a total length of some 50 metres onto the corrugated iron roof, where it can absorb solar energy during the day. It was linked to the garden tap with another hosepipe. (There was no shortage of old hosepipes around the property!)
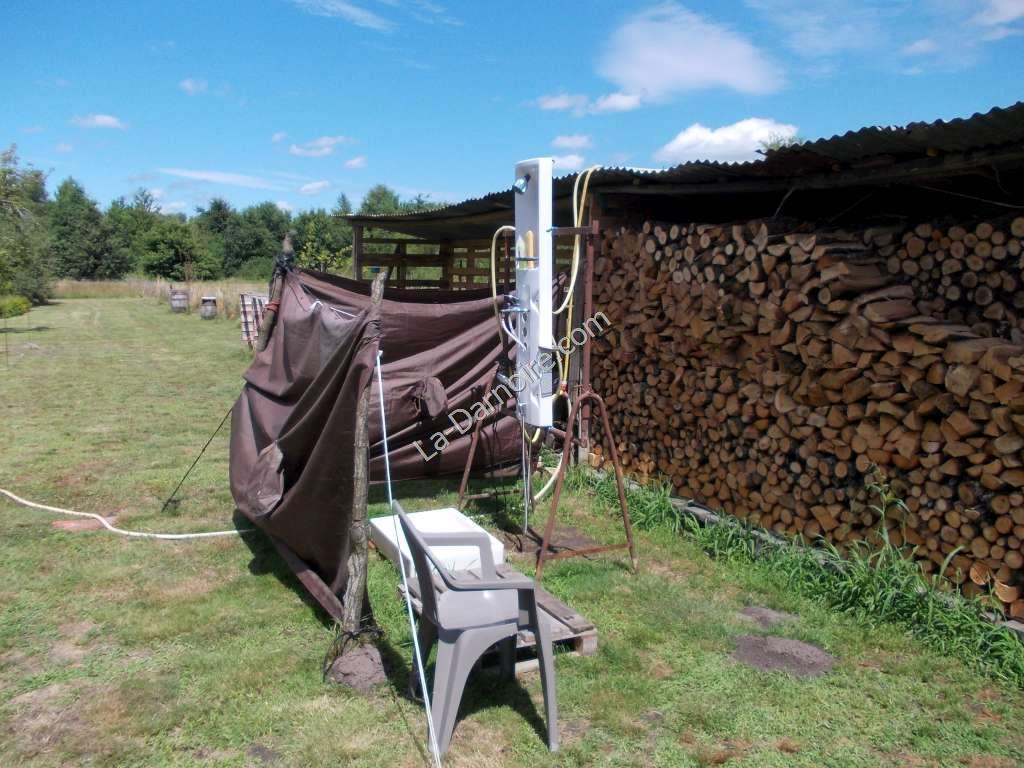
Also by this time, one of T&M's uncles had decided to refurbish his bathroom, which meant he was throwing away his old shower. It landed up here, where it was put to good use. I tied it to a builder's trestle, and connected up the hose from the top of the pallet wood shed to the hot water inlet of the shower. Using a Gardena Y-junction, the cold water inlet was connected up as well. The posts and ex-army ponchos were reinstalled. And this time, instead of standing on a doormat whilst showering, a real shower tray was available, supported by bricks. This piece of treasure was found in one of the outbuildings at the other farmhouse.
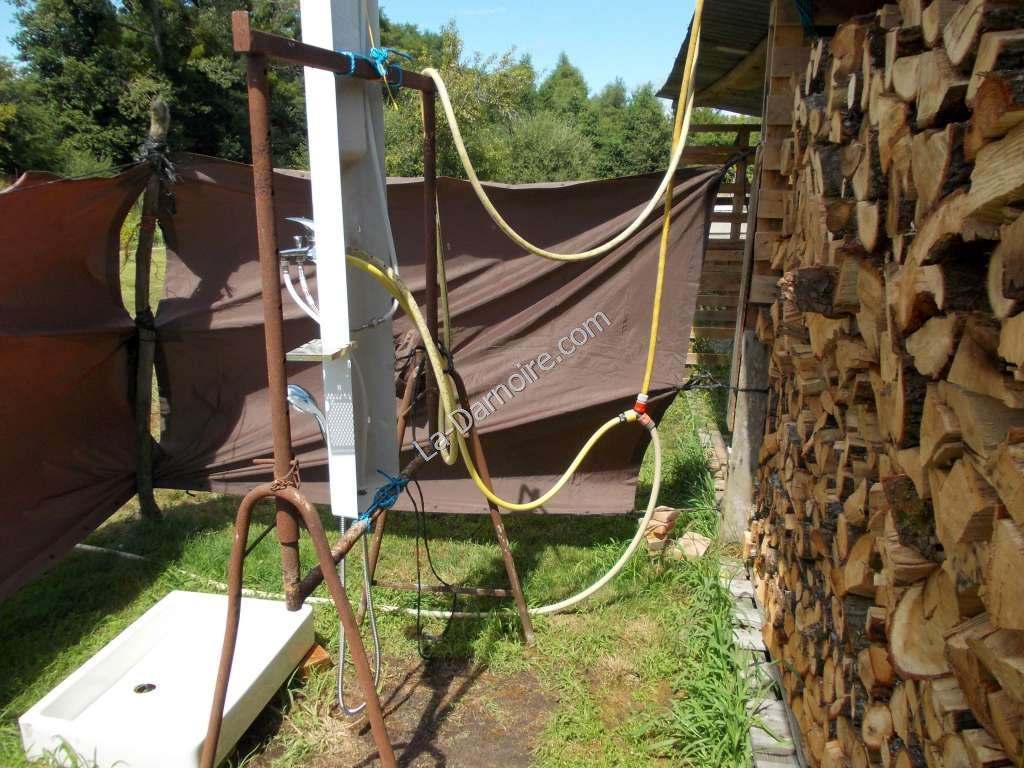
Here's a closer view of the back of the shower. I bolted an old computer hard disk tray to the side of the shower for use as a soapdish. If you examine the Y-junction, the pale orange connector is on the hosepipe fed from the garden tap. The dark orange connector is the supply side of the hosepipe on the roof of the pallet wood shed. The other end of this hosepipe goes to the shower hot inlet. And the yellow connector is on the hosepipe going to the shower cold inlet.
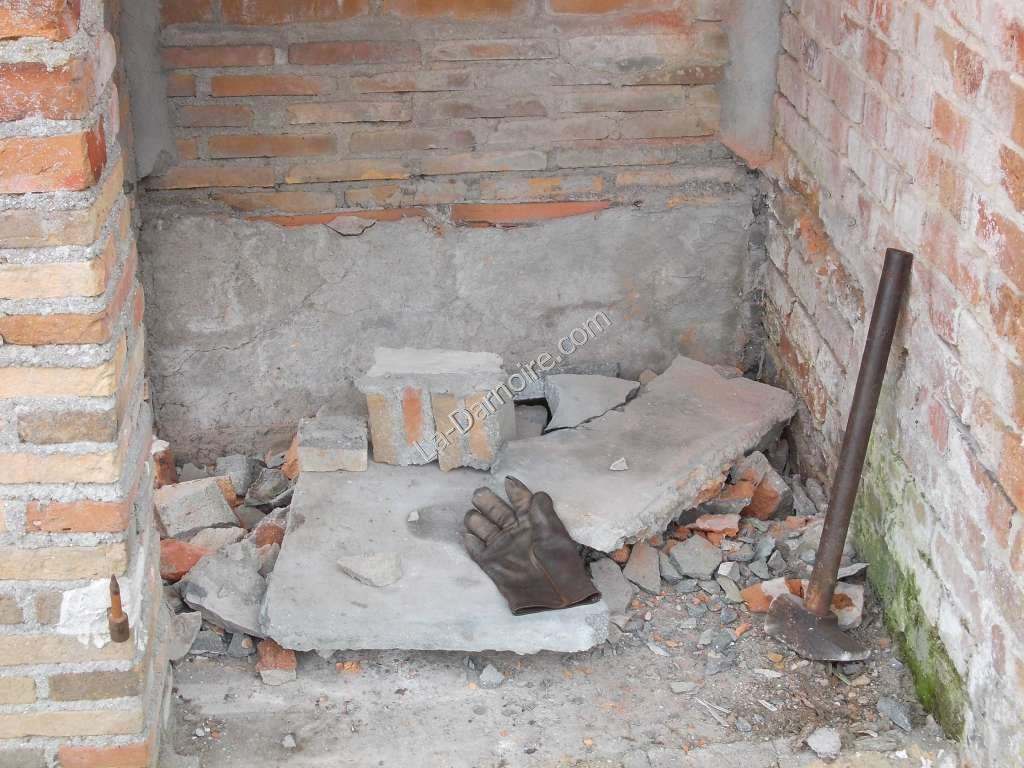
Outdoor Bathroom Mark III is planned for the future. This will be a permanent fixture, although we will of course have an indoor bathroom too! I demolished the concrete bench forming the toilet seat in the former purpose-built brick outhouse. The wastewater pipe is already in place, linked to the greywater reedbed. However the corrugated iron roof needs to be raised, as it is a bit low for my height. Then all I need to do is install the shower tray, fix the shower to the wall, and perhaps install some ceramic tiles to protect the brickwork from dampness.
Towards the end of autumn, horsefly sentry duty was no longer necessary. However, it eventually became too cold for showering outside. We thus moved the scene of operations to the Winter Bathroom.
