As mentioned on the Garden page, we fairly quickly realised that a polytunnel would also be required. Some research revealed that it should be fairly easy to build one with limited materials. It was recommended to use corrugated gas pipe to form "hoops" over which a greenhouse plastic film could be installed.
Now I was unable to find this sort of pipe here, so instead I chose some thick-walled 30mm diameter pvc water pipe. (Update, 2020:This turned out to be a bad idea. After a couple of years, it sagged dreadfully.)
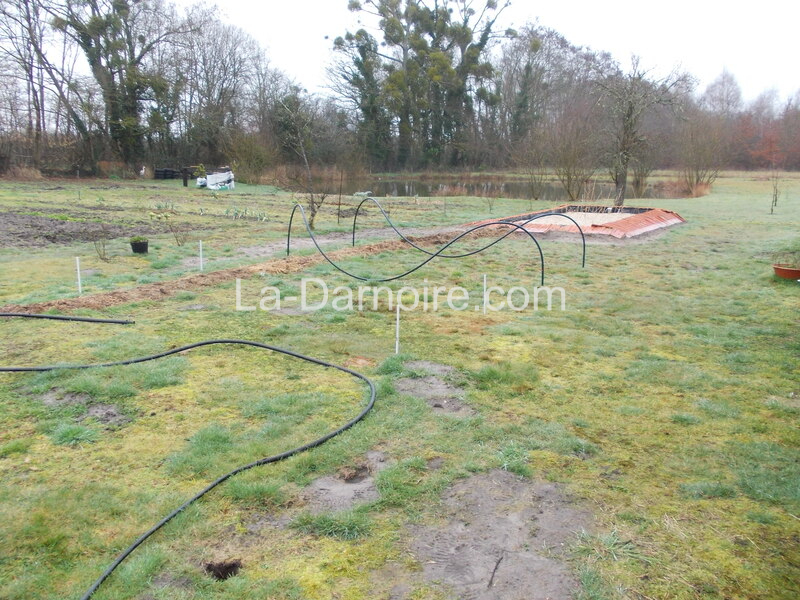
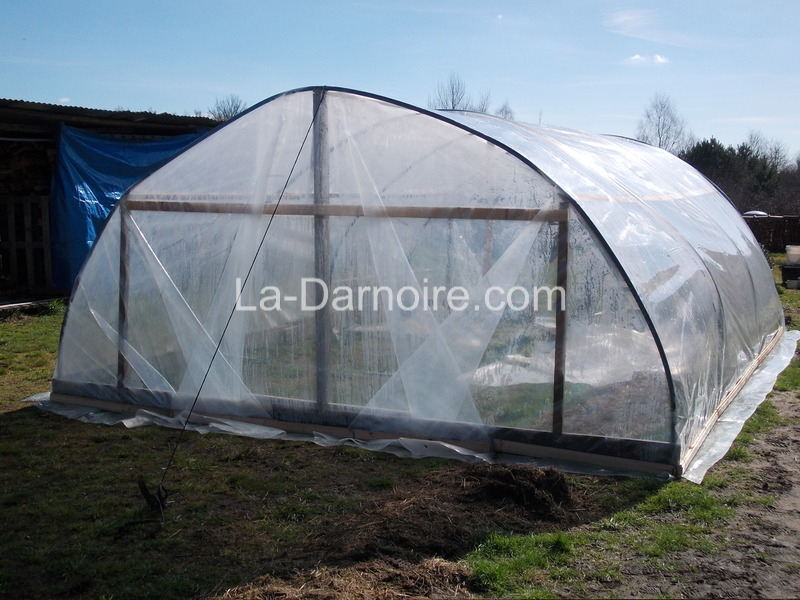
I marked out the base of the polytunnel, which will measure 3m in width and 5m in length. Some steel bars were hammered into the soil, over which the pipe ends were fitted.
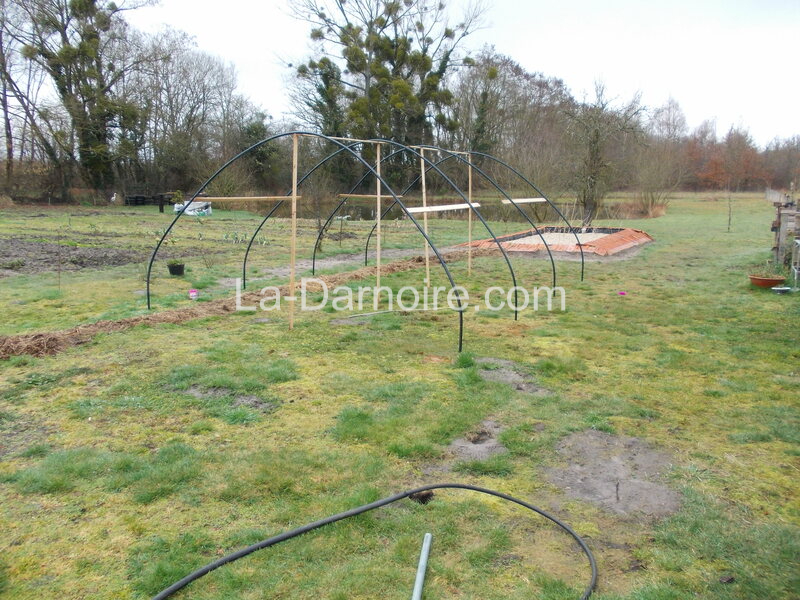
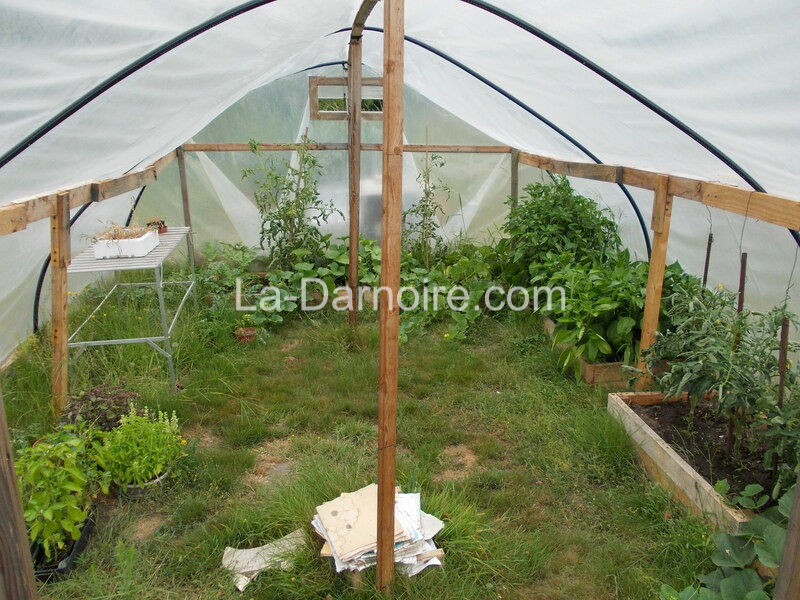
The water pipes were cut to a suitable length and fitted over the steel bars. It was then evident that some further supports would be required, so some wooden uprights and struts were installed.
Once this was complete, some wooden boards were then installed around the base; these will serve for anchoring the base of the plastic cover. A frame was also installed for a door.
We had purchased the appropriate size of clear UV-stabilized polyethylene sheet, meant for greenhouses. This was placed over the hooped frame and attached to the wooden base by the simple expedient of placing a strip of wood on the outside and driving screws through it into the backing board, thus trapping the sheet between the two layers of wood. The excess sheet would then be covered with soil. At this point it also became evident that further reinforcement of the frame was necessary; so a nylon rope was attached to the top of the top of the frame at both front and rear, and fixed to the ground much like the guy-ropes of a tent.
A simple frame was made for a door, and this was covered with an off-cut of the polythene sheet.
Here's the polytunnel in use. Fairly quickly it was realised that increased ventilation was required, so I made a small "window" in the back wall.
This DIY build lasted for some six years and survived the weather and some high winds. However, the sagging of the polyethylene sheet between the hoops became worse, and it eventually developed a couple of splits. Due to the high humidity the wooden struts also started rotting. We therefore purchased a ready-made polytunnel from a seller on Ebay, and replaced the DIY version.
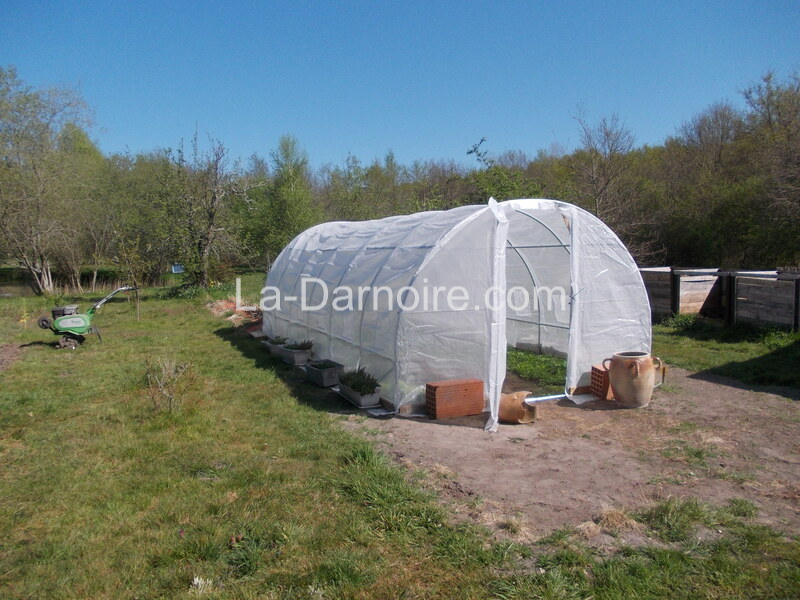
The new polytunnel has a galvanized steel frame, and reinforced polyethylene sheeting - and it also has six "windows" on either side which can be rolled up for added ventilation if necessary. It's also bigger than the old home-made one, measuring 3m by 6m.
Comments
Have your say about what you just read! Leave a comment in the box below.
