Although the DIY food dehydrator worked fine, it still uses electrical power. So this does not really tick the box for a completely grid-free solution to drying food. The solution? Build something that's solar-powered.
I'll mention straight away this is not my invention; I saw the idea online. Unfortunately the website depicting the design is no longer live, so I'll try to explain the construction process.
Solar Food Dehydrator
New!
Book Two in the series.
Available in paperback and for Kindle:
Book One also available
in paperback and Kindle:
The first constraint was to use recycled materials as much as possible. A while ago a friend had given us some panes of glass from an old conservatory. They were rather water-stained but should still do the job. Obviously the size of these panes dictated the size of the solar dehydrator I could build without too much glass-cutting!
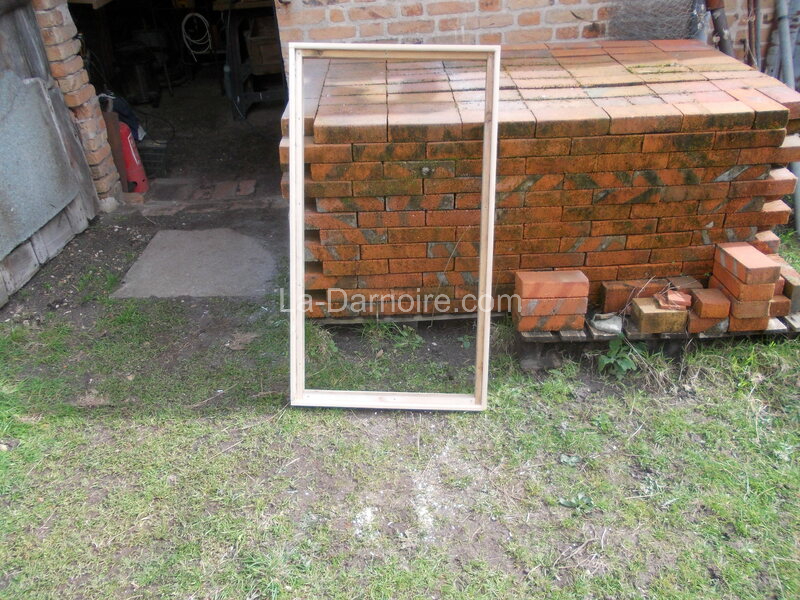
Each pane measured 1060x590mm. There were five of them. Using pallet wood, I constructed an "upper" frame to support each pane of glass. Each of these "upper" frames was recessed. This enables the "upper" frame to fit snugly over a "lower" frame. The lower frame is basically a box without top or bottom, to prevent insects entering. The recess also serves as a housing for a sheet of aluminium which was cut from some corrugated aluminium sheets which I hammered flat to get rid of the corrugations. There is a 40mm gap between the aluminium sheet and the soon-to-be-fitted glass.
Here's one of the frames:
(Click photos to enlarge)
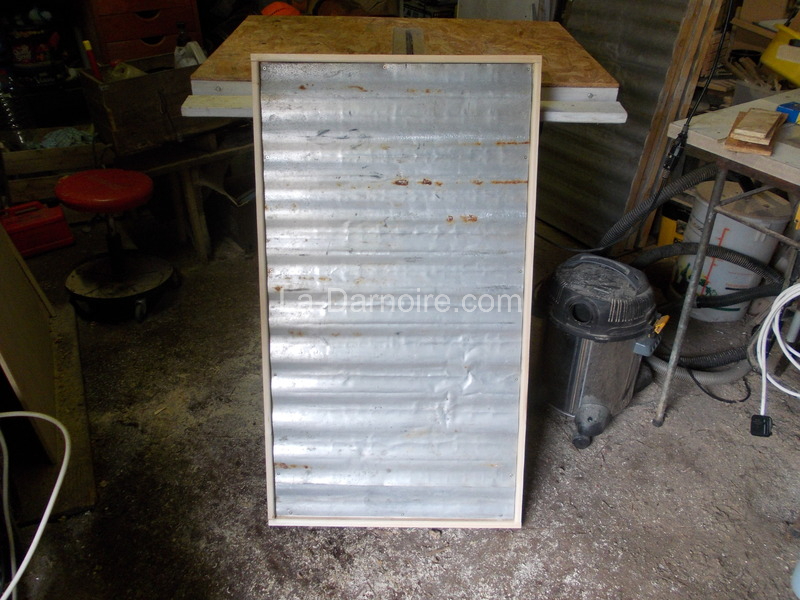
The hammered-flat aluminium sheet was then fitted into the frame and fixed with screws. It doesn't look too pretty, as I couldn't get it as flat as I would have liked. But it will still work.
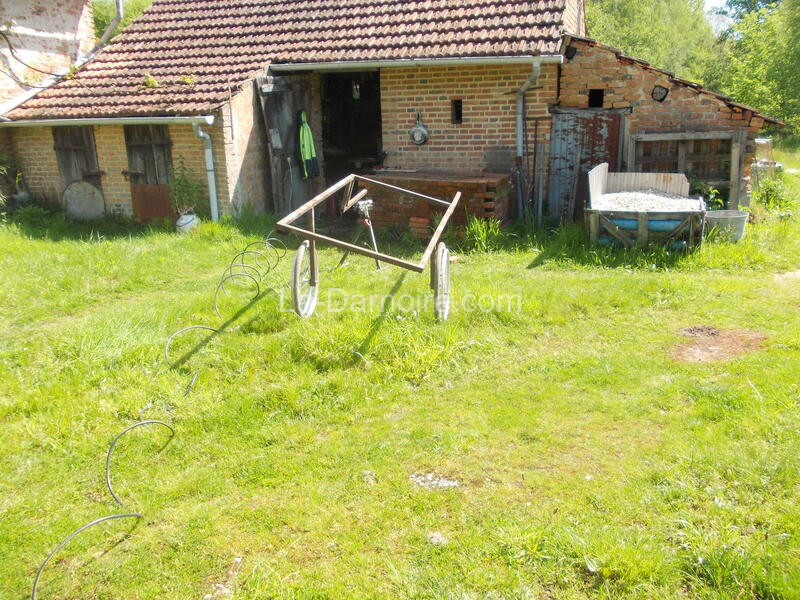
Using the steel from an old barn door frame, I fabricated a support structure to hold the drying "boxes". This will be mobile so it can be stored under the hangar in winter when we don't need it. I used two wheels from an old wheelchair. The support is angled so that it holds the panels at an angle of 15° from horizontal. The angle enables warm air to flow out of the top of the dehydrator. The angle should not be any greater than 15° or any food being dried will roll down to the bottom of each frame. I also welded on two metal poles which will serve as handles, making the whole thing a sort of glorified wheelbarrow.

Here it is the right way up, prior to the front support leg being welded on. The angle can be more clearly seen in this photo:
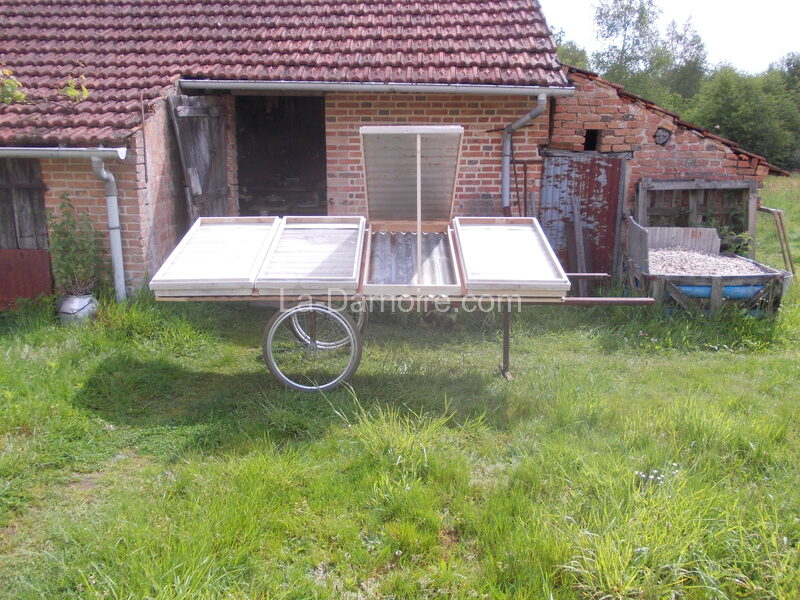
Now the "lower" frames were made, again using recycled pallets. These serve as supports for the upper frames (which contain the glass and aluminium sheet). The only thing I had to purchase was some stainless steel hinges to allow the upper frame to be lifted, giving access to the drying surface. At this point in the construction I realised that my original intention of building five frames was a bit optimistic; they would not fit on the steel support framework which was already 2.4m in length! So I decided to make it a four-panel construction instead. Using corrugated iron (not aluminium this time!) I made a base for these contraptions to sit on. The corrugated iron was cut so that the corrugations ran vertically, creating "channels" for air flow. It was fixed to the steel support, and the wooden frames were then attached with screws from underneath.
Here's what it looked like at this stage. The "lids" can be held open with a length of wood.
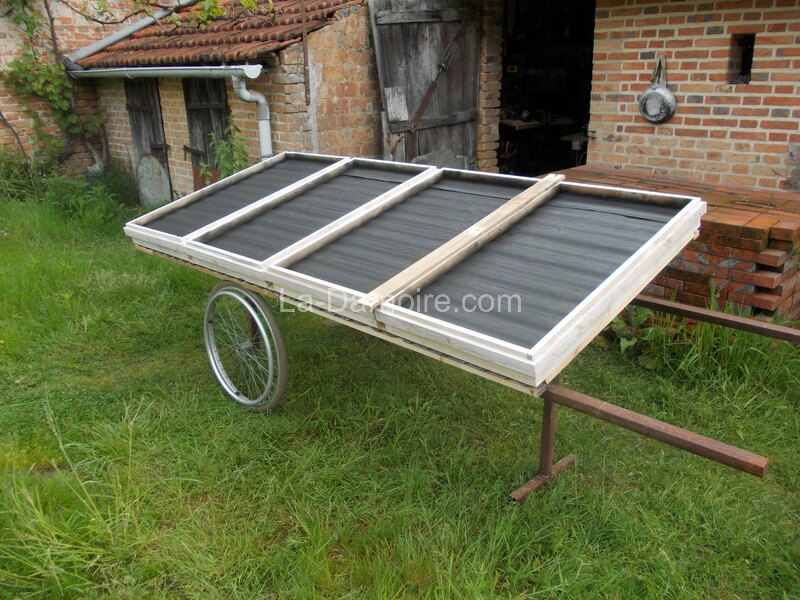
I then used some high-temperature black paint to coat the upper surface of the aluminium panels. The black colour will absorb more solar energy which will be radiated through onto the food beneath.
Finally the glass was installed. I applied a bead of silicone sealant around the top surface of each wooden frame, and the glass was then carefully put in place. To prevent the glass from sliding off should the silicone sealant fail, for added security I added three small right-angled steel brackets to each frame. These were padded using a small offcut of silicone tubing so that the steel bracket does not actually touch the glass. This should help to avoid any cracking of the glass due to differences in expansion when the sun's heat is applied.
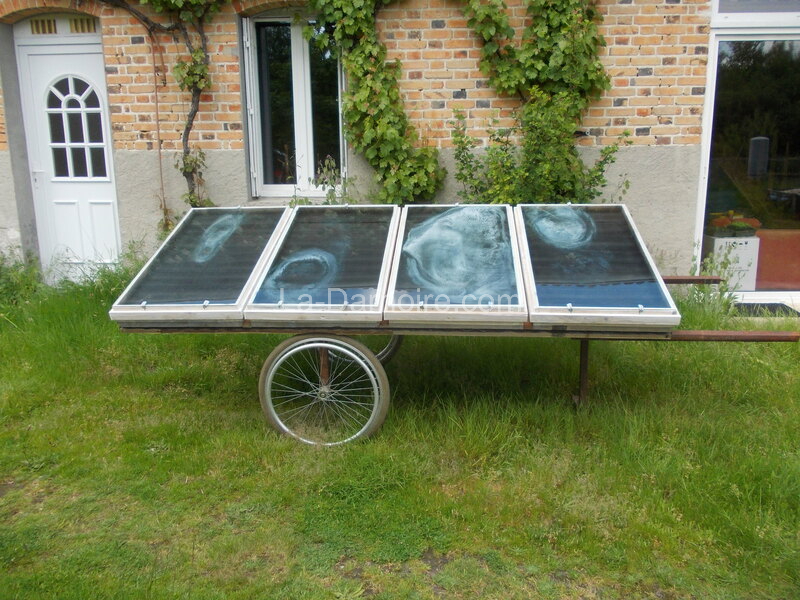
The swirls in the glass are the previously mentioned water-stains. They were impossible to remove. The final finishing touch to the solar dehydrator was to staple some nylon mesh flyscreen over the gaps between the wooden frames and the corrugated iron. This prevents insects from entering the food drying area, but allows airflow.
So how does this contraption work then?
The sun's rays penetrate the glass and heat up the black-painted aluminium. Now aluminium is a good conductor of heat, so the air underneath is also heated. Warm air is less dense, so it rises, drawing out any moisture from the food and exiting the dehydrator at the upper end of the slope. Cooler air is drawn in from the bottom end of the slope, is heated, and in turn exits the dehydrator.
The food does not rest on the corrugated iron panel. Instead I made up some trays. These are simply wooden frames with stainless steel flyscreen stapled to the underneath. You can see them in the next photo. You may think they are slightly undersized, but this was done on purpose. They were made to also fit inside our home-made smoker, which consists of an old refrigerator. The only disadvantage to using wood as a frame for these trays is that they are not easily washable. Any volunteers to make some frames out of stainless steel? ;)
Once all the wood had been painted, I made a final tweak. I drilled a small hole in the top end of each frame so that a meat thermometer could be inserted, to determine the temperature inside the dehydrator. In full sun the temperature inside has gone up to 80°C by the late afternoon. A more usual daily temperature is around 60°C. And even on a cloudy day the temperature is higher than ambient. In the next photo you can see the thermometer, the nylon flyscreen, and the steel silicone-tube-padded-bracket holding the glass in place.

What about rainy days? No problem. The food inside remains dry. Here's a photo of one of the panels in use, drying some home-grown barley:

So far we have successfully dried: Barley, wheat, sundry herbs including mugwort, coriander, yarrow and angelica, plums, and beans.
And should we have a decent crop of tomatoes this year, some of those will go in as well.
Comments
Have your say about what you just read! Leave a comment in the box below.