
As promised, this week I’ve uploaded some photos of the window installation.
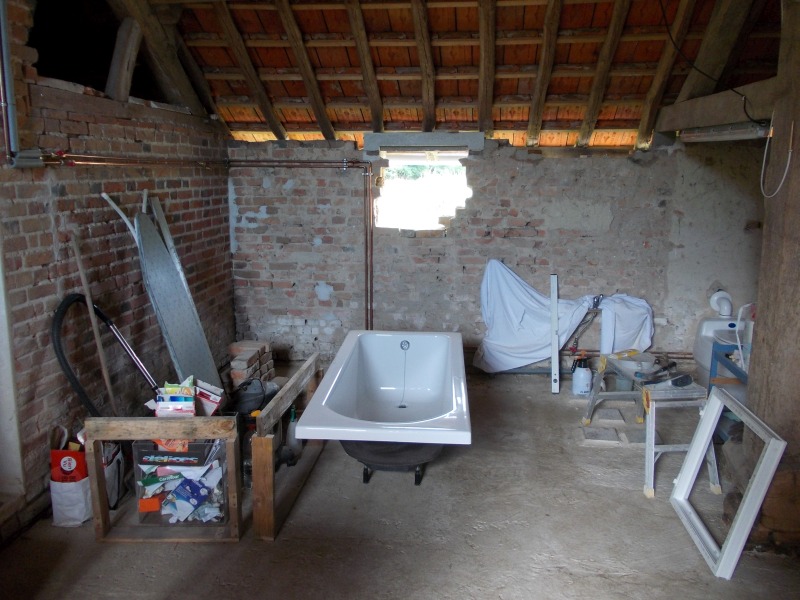
Firstly, the roof beams were supported by using an acrow prop. I was then able to install the concrete lintel. Obviously I had to move the bath out of the way first! Once the lintel was in place I could then remove the bricks below it; those which were unbroken will be re-used elsewhere. It was interesting to find that these bricks were of a lesser quality than those found in the house itself; the barn was obviously a later (cheaper) addition!
The first window was then fitted in place. But although I had carefully measured beforehand, it just didn’t look right:
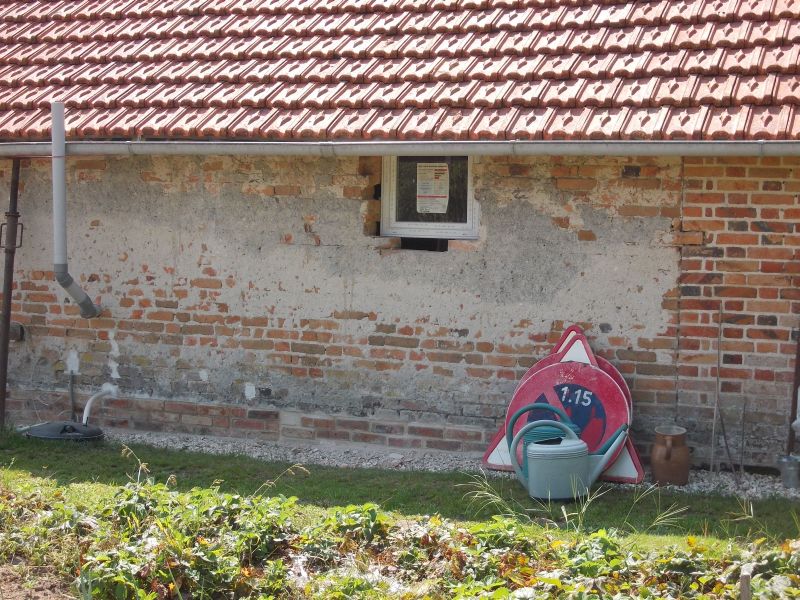 So we decided to lower it by two brick courses. This meant that there was now a gap between the lintel and the window, but this was simply filled in with lime mortar. I obviously constructed a wooden frame first, then poured the lime mortar into the gaps between the frame and the brickwork. Once the mortar had set, I removed the frame. Ignore the grey tubing on the left of the photo above; this was a temporary vent for the Separett dry toilet.
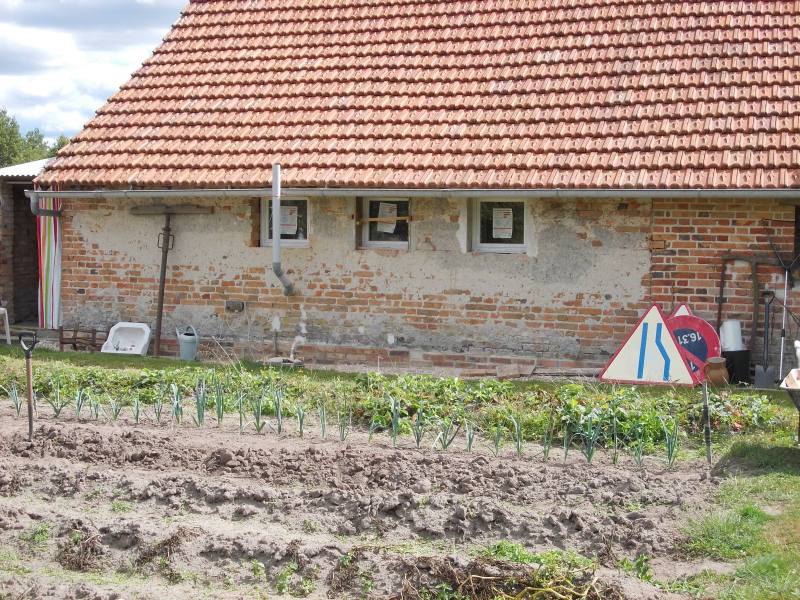
The same installation procedure was then carried out on the second and third windows. Here’s the final result:
Now I need to start constructing the suspended ceiling for the bathroom; once the framework for that is in place I can render the walls. And once the walls have been rendered, I can start using some of our lovely travertine tiles for the floor! Watch this space…